Craving a sweet, crunchy dessert? I’ve got the perfect solution with my Peanut Butter Chocolate Rice Krispie Treats Delight! This treat blends creamy peanut butter, rich chocolate, and crispy rice for a satisfying bite. Whether you’re a busy parent or just want something delicious, these treats are quick and easy to make. Dive into this article for tips, tricks, and variations that will take your sweet game to the next level!
Why I Love This Recipe
- Quick and Easy: This recipe requires minimal preparation and cooking time, making it perfect for a last-minute treat.
- Kid-Friendly: Kids love the fun combination of peanut butter and chocolate, and they can help with mixing and pressing the treats.
- Deliciously Gooey: The melted chocolate and peanut butter create a wonderfully gooey texture that’s hard to resist.
- Customizable: You can easily add in extras like nuts, marshmallows, or even swap the chocolate for white chocolate for a unique twist.
Ingredients
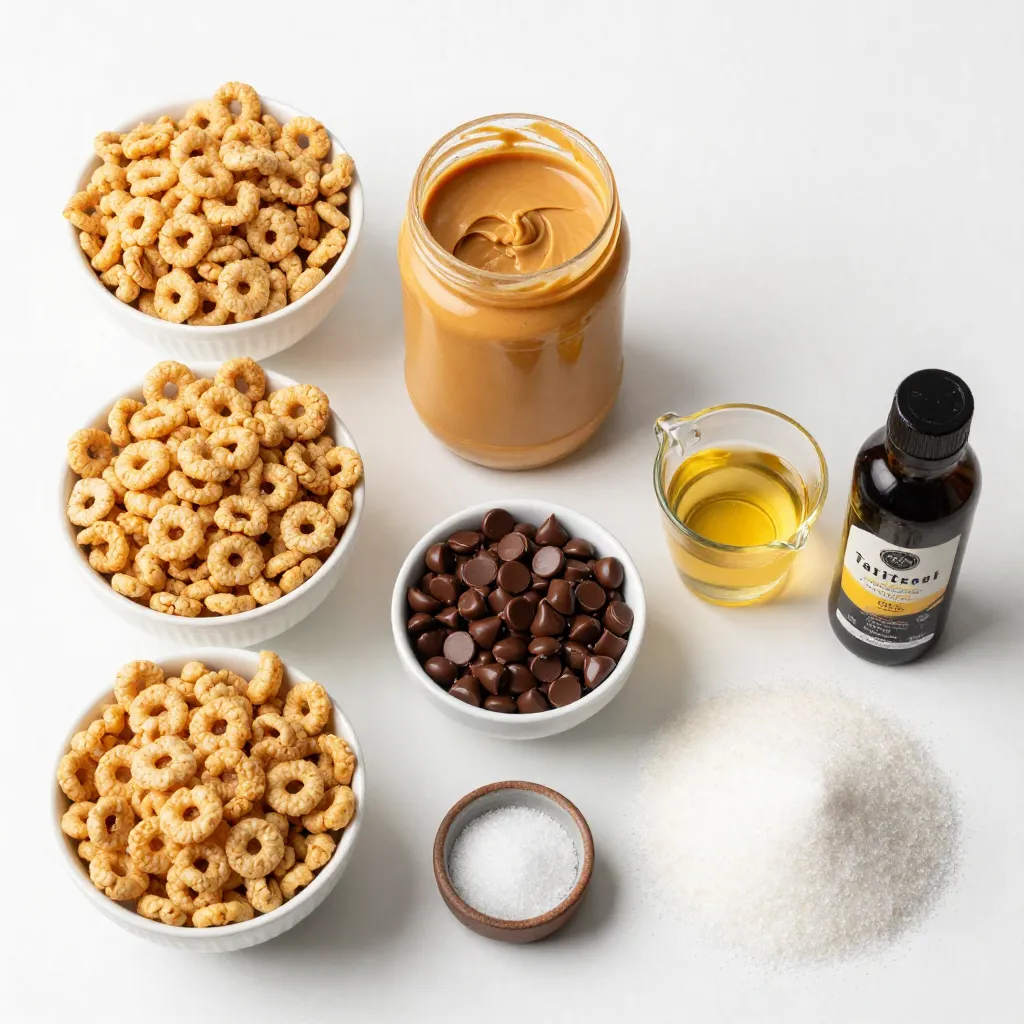
List of Ingredients
To make Peanut Butter Chocolate Rice Krispie Treats, gather these simple ingredients:
- 4 cups Rice Krispies cereal
- 1 cup creamy peanut butter
- 1 cup semi-sweet chocolate chips
- ½ cup light corn syrup
- ½ cup granulated sugar
- 1 teaspoon vanilla extract
- Pinch of salt
Substitutions for Dietary Restrictions
If you have dietary restrictions, you can still enjoy these treats. Here are some options:
- Use brown rice cereal for a gluten-free version.
- Swap creamy peanut butter with almond or cashew butter for nut allergies.
- Substitute corn syrup with agave syrup or honey for a different sweetener.
- Choose dairy-free chocolate chips to make it vegan friendly.
Recommended Brands for Best Results
For the best flavor and texture, I recommend these brands:
- Rice Krispies: Kellogg's offers the classic crunch.
- Peanut Butter: Jif or Skippy both provide a smooth consistency.
- Chocolate Chips: Ghirardelli or Nestlé Toll House deliver rich, semi-sweet flavor.
- Corn Syrup: Karo is the go-to brand for sweetening your treats.
Using quality ingredients makes a big difference in taste. Enjoy making your treats!
Step-by-Step Instructions
Preparation of the Baking Dish
Start by lining an 8x8 inch baking dish with parchment paper. Make sure the paper hangs over the sides. This will help you lift out the treats later. Lightly spray the parchment with non-stick cooking spray. This step prevents the treats from sticking.
Heating and Combining Ingredients
In a medium saucepan, mix the light corn syrup, granulated sugar, and a pinch of salt. Heat the mixture over medium heat. Stir constantly until it starts to boil, which should take about 2-3 minutes. Once it boils, remove the saucepan from heat. Quickly add the creamy peanut butter. Stir until the mixture is smooth. Then, mix in the vanilla extract.
Proper Mixing Techniques and Tips
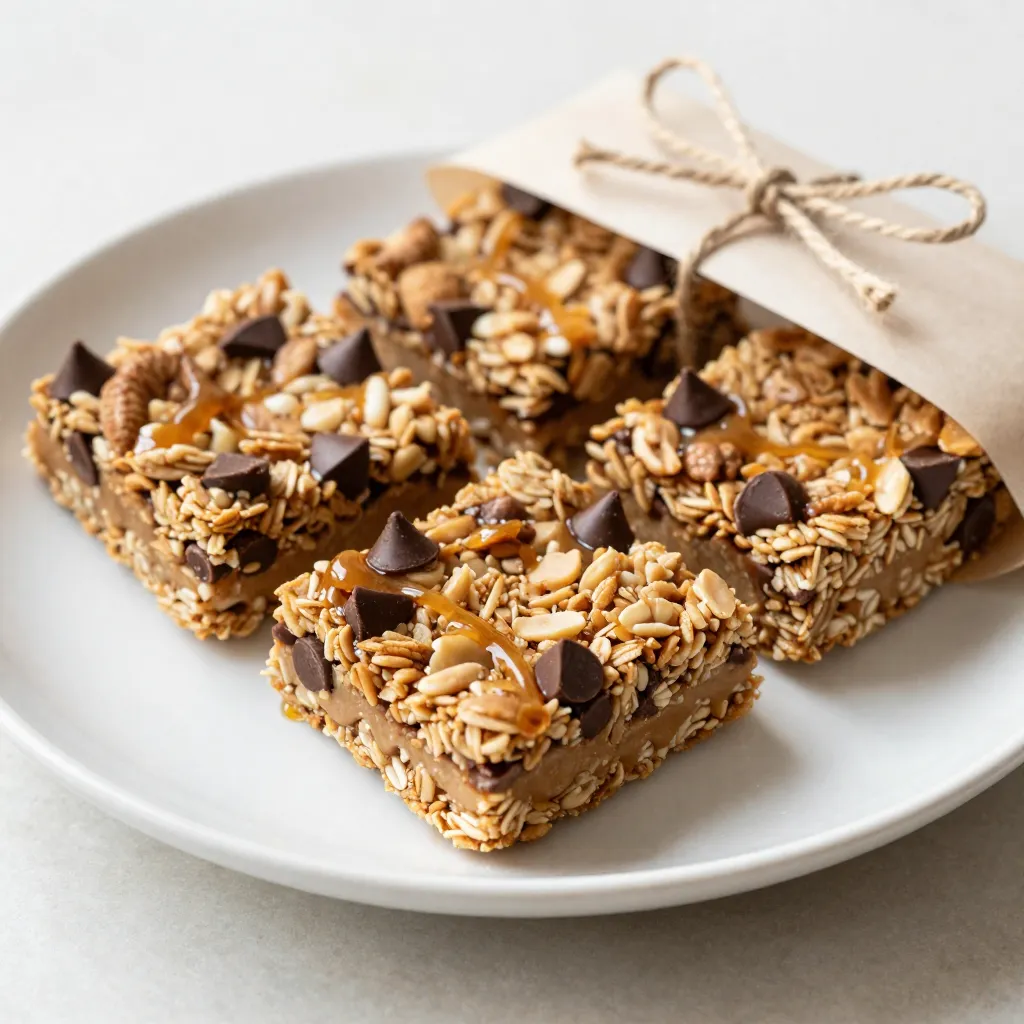
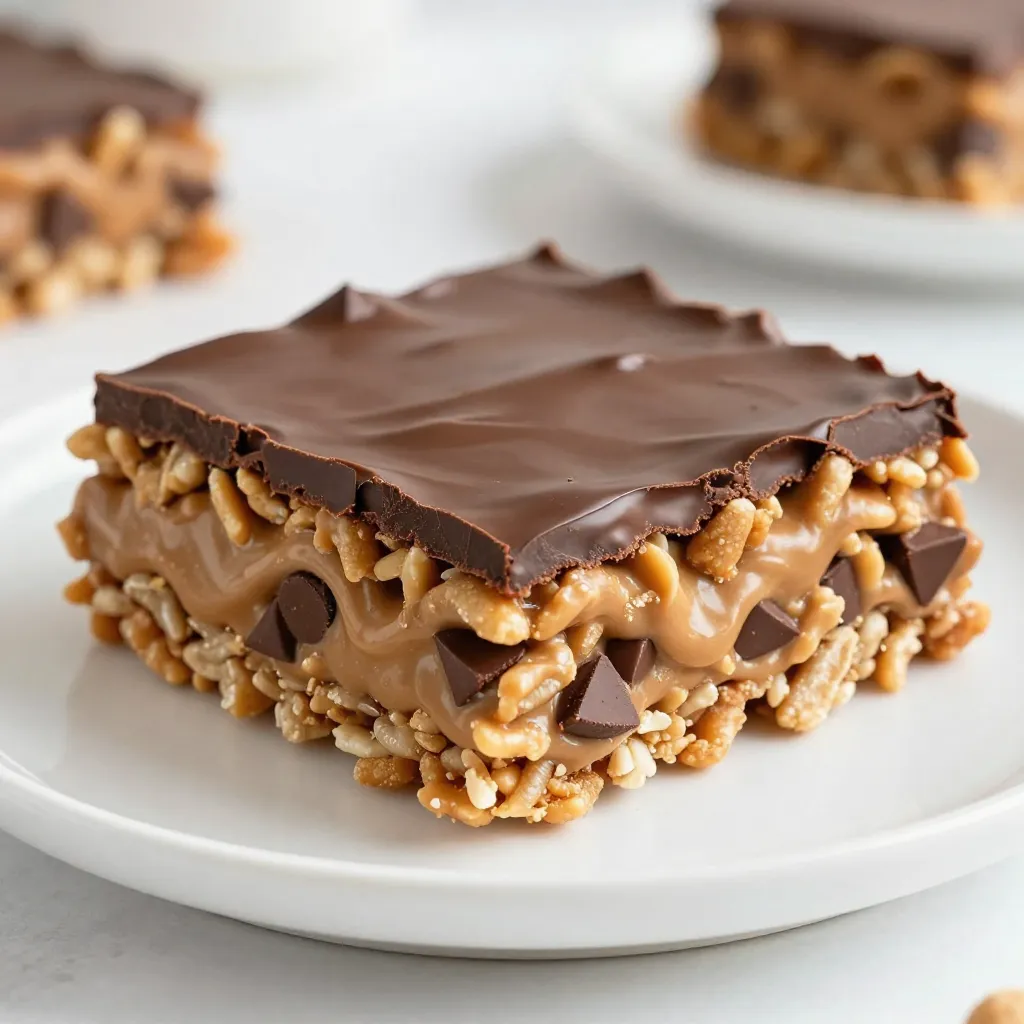
Pour the Rice Krispies into a large bowl. Gently pour the warm peanut butter mixture over the cereal. Use a spatula to fold the ingredients together. Make sure every piece of cereal gets coated. Then, mix in ¾ cup of chocolate chips. The warm mixture will melt the chips a little, making it gooey and sweet.
Drizzling the Chocolate for Presentation
In a microwave-safe bowl, place the remaining ¼ cup of chocolate chips. Microwave the chips in 20-second bursts, stirring each time. Continue until the chocolate is fully melted and smooth. Carefully drizzle the melted chocolate over the pressed Rice Krispie mixture. Let it spread a little for a lovely marbled look.
Tips & Tricks
Techniques for Perfectly Coated Treats
To achieve the best-coated Rice Krispie treats, follow these steps:
- Warm Ingredients: Make sure your peanut butter is at room temperature. This helps it mix better with the corn syrup.
- Use a Spatula: Use a large spatula to mix the cereal and the warm peanut butter mixture. Fold gently to avoid crushing the cereal.
- Press Firmly: When you transfer the mixture to the baking dish, press it down firmly. This helps the treats hold their shape later.
Storing Leftovers for Freshness
To keep your treats fresh and tasty, store them in an airtight container. Here are a few tips:
- Room Temperature: They last well at room temperature for up to 3 days.
- Refrigeration: For longer freshness, store them in the fridge for up to a week.
- Avoid Freezing: Freezing can change the texture, so it's best to enjoy them fresh.
Common Mistakes to Avoid
Avoid these common pitfalls for perfect treats:
- Overheating the Mixture: If you heat the corn syrup too long, it can harden. Keep an eye on it while it boils.
- Not Mixing Enough: Be sure to coat all the cereal pieces. Uneven coating can lead to dry spots in the treats.
- Skipping the Chill Time: Chilling helps the treats set properly. Don't rush this step for the best texture.
Pro Tips
- Use Fresh Ingredients: Make sure your peanut butter and chocolate chips are fresh for the best flavor and texture in your treats.
- Press Firmly: When transferring the mixture to the baking dish, press down firmly to ensure the treats hold together well once set.
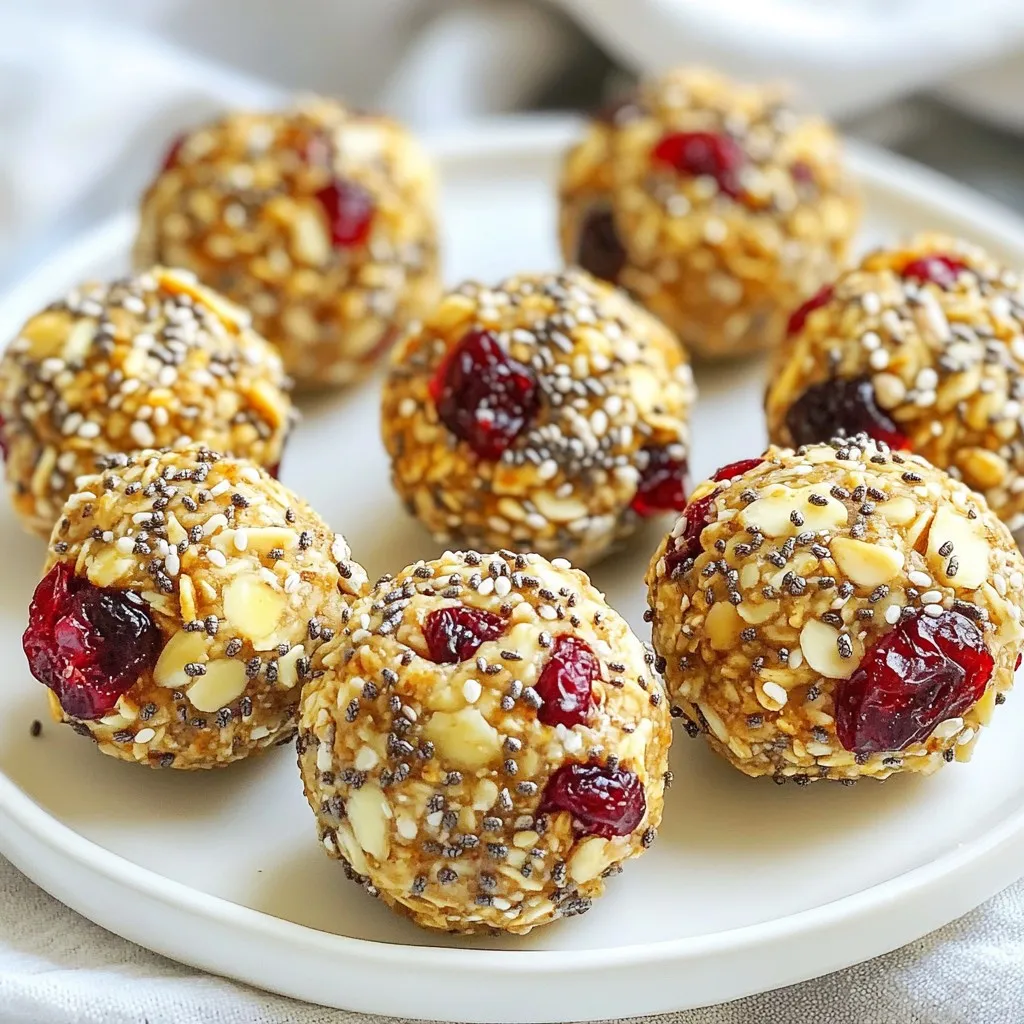
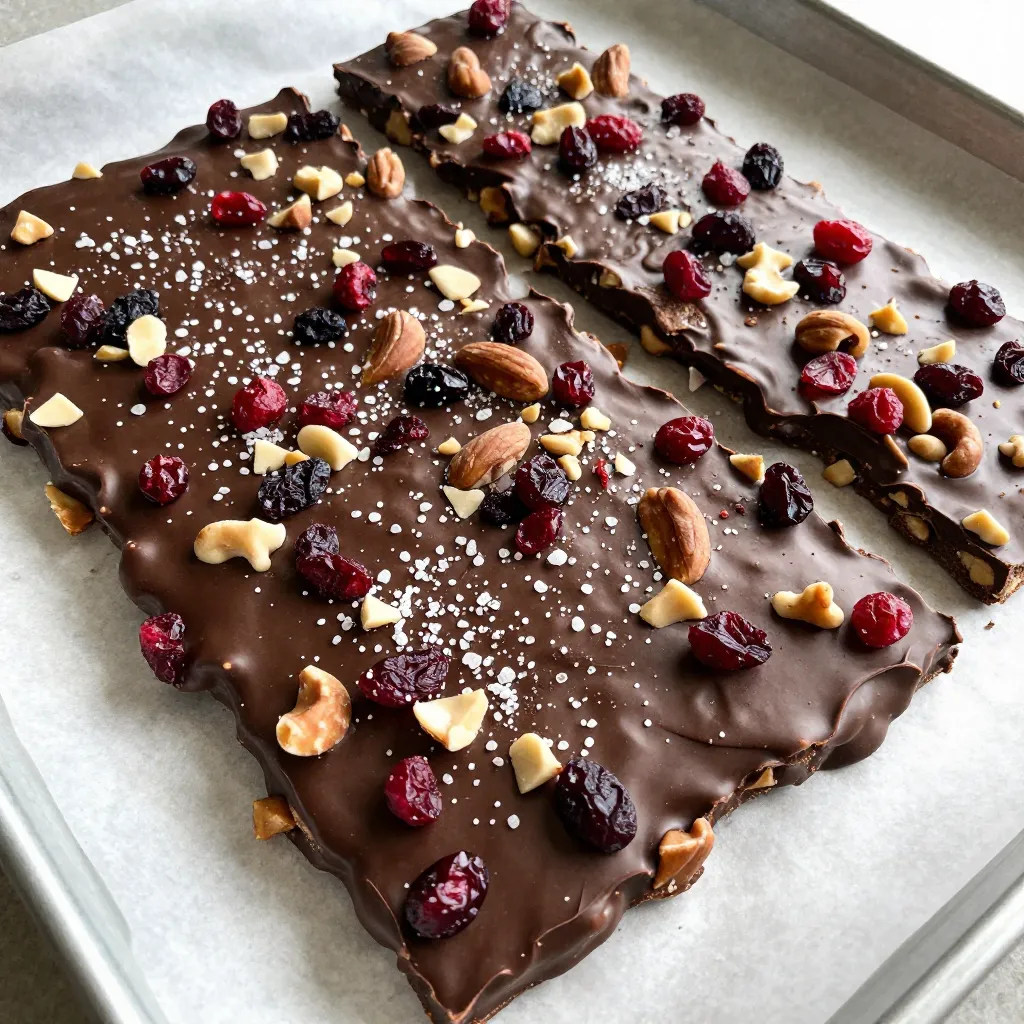
- Experiment with Mix-Ins: Feel free to add in nuts, dried fruits, or even a sprinkle of sea salt for a delightful twist on the classic recipe.
- Store Properly: Keep the Rice Krispie treats in an airtight container at room temperature for up to a week to maintain their freshness.
Variations
Nut-Free Alternatives
If you want a nut-free treat, you can swap creamy peanut butter for sun butter. Sun butter tastes great and makes these treats safe for kids with nut allergies. You can also try soy nut butter. Both options provide a creamy texture without nuts.
Adding Other Mix-Ins
Mixing in extras can take your treats to the next level. You can add mini marshmallows to create a chewy texture. Chopped nuts also add a nice crunch. Try adding pretzel pieces for a salty twist. Just remember to fold them in gently after mixing the cereal.
Flavor Variations
Want to switch up the flavor? You can add butterscotch chips for a sweeter note. Coconut flakes can bring a tropical vibe to your treats. You might even add a bit of cocoa powder for a rich chocolate flavor. Get creative and make the recipe your own!
Storage Info
Best Storage Practices
To keep your Peanut Butter Chocolate Rice Krispie Treats fresh, store them in an airtight container. This keeps moisture out and helps them stay crispy. Place parchment paper between layers if stacking, so they don’t stick together. Store them at room temperature for up to five days.
Freezing Instructions for Long-Term Storage
If you want to save some for later, freezing is a great option. Wrap each treat in plastic wrap tightly. Then, place them in a freezer-safe bag or container. These treats can last up to three months in the freezer. Label the bag with the date for easy reference.
How to Reheat for Soft Texture
When you're ready to enjoy your treats again, take them out of the freezer. Let them thaw in the fridge for a few hours or at room temperature for about 30 minutes. If you want them warm and soft, microwave each treat for about 10 seconds. This will help restore the gooey texture and melt the chocolate slightly. Enjoy!
FAQs
How to make Peanut Butter Chocolate Rice Krispie Treats without corn syrup?
You can replace corn syrup with honey or maple syrup. Both options work well. They add sweetness and help bind the treats. Just use the same amount as corn syrup in the recipe.
Can I use crunchy peanut butter instead of creamy?
Yes, you can use crunchy peanut butter! It will add a nice texture to the treats. Some people love the extra crunch it gives, making each bite more fun.
How long do the treats last at room temperature?
The treats can last up to a week at room temperature. Store them in an airtight container. This keeps them soft and fresh for longer.
Can I make these treats vegan-friendly?
Yes, you can make them vegan! Use a plant-based butter and maple syrup. Also, choose dairy-free chocolate chips. This way, everyone can enjoy these tasty treats!
In this post, we explored ingredients, step-by-step instructions, tips, variations, and storage for treats. You learned how to choose the right ingredients and make substitutes for dietary needs. The steps guide you to mix and present your treats perfectly. I shared smart tips to avoid common mistakes and keep your treats fresh. Lastly, we discussed different flavors and how to store leftovers. Enjoy making these delicious treats, and don’t hesitate to get creative with your mix-in