Looking for a fun and healthy treat? Greek Yogurt Berry Bark is just what you need! This simple recipe combines creamy Greek yogurt and fresh berries for a delicious snack. Plus, you can customize it with your favorite sweeteners and add-ins. It's easy to make, perfect for all ages, and packed with nutrition. Let’s dive into the tasty world of Greek Yogurt Berry Bark!
Why I Love This Recipe
- Healthy Indulgence: This Greek Yogurt Berry Bark is a guilt-free treat that satisfies your sweet cravings while providing protein and nutrients.
- Customizable Toppings: Feel free to mix and match your favorite fruits, nuts, or seeds, making it unique every time you prepare it!
- Quick and Easy: With just a few simple steps, you can whip up this delightful dessert in no time, perfect for busy days.
- Perfect for Sharing: This recipe yields multiple pieces, making it an excellent option for gatherings, parties, or family snacks!
Ingredients
Greek Yogurt
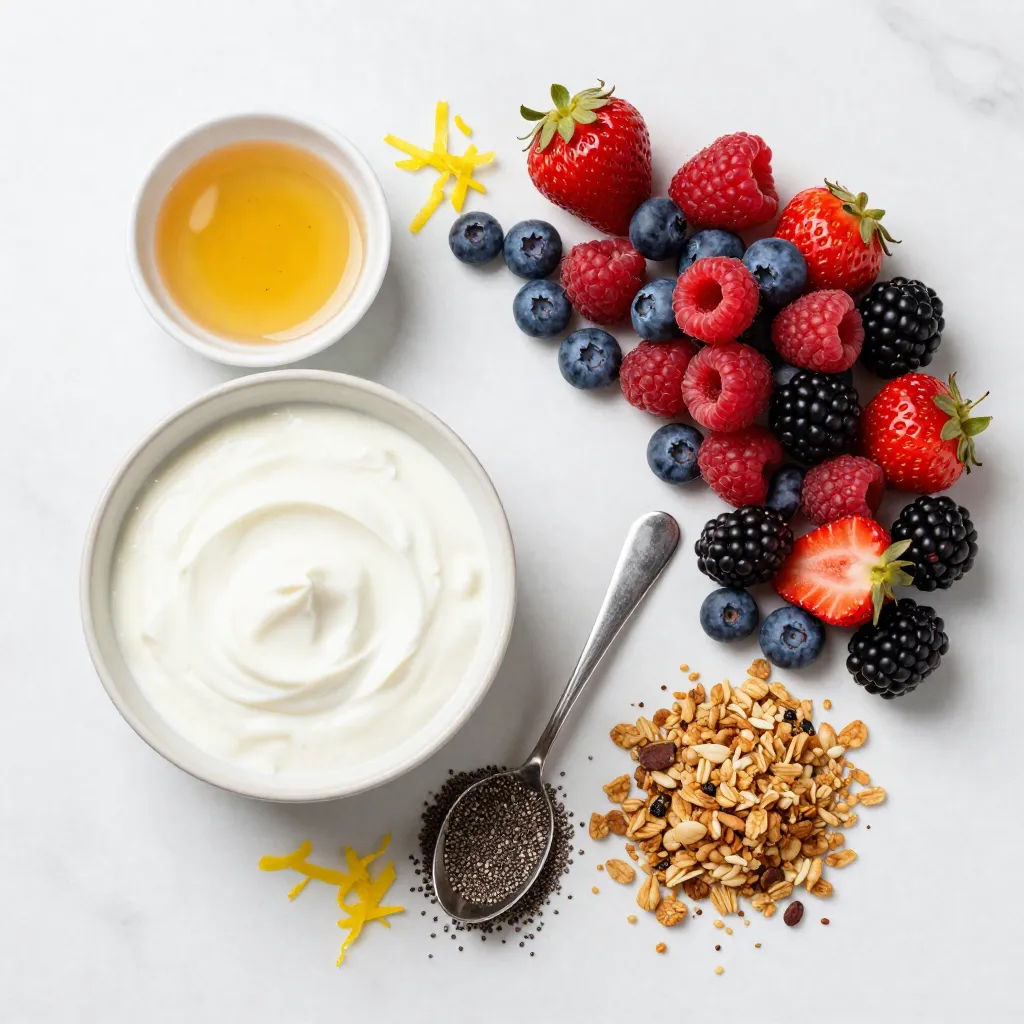
You need 2 cups of Greek yogurt. You can pick plain or vanilla. Greek yogurt is thick and creamy. It gives great texture to the bark. It packs protein and probiotics, which are good for your gut.
Berry Selections
For a bright mix, use 1 cup of berries. I love strawberries, blueberries, raspberries, and blackberries. They add color and flavor. You can pick your favorites or what is in season. Fresh or frozen, both work well.
Sweetener Options
Use 2 tablespoons of honey or maple syrup. This adds just the right touch of sweetness. You can adjust the amount to suit your taste. If you like it sweeter, add more. For less sweetness, use less.
Add-Ins for Nutrition and Texture
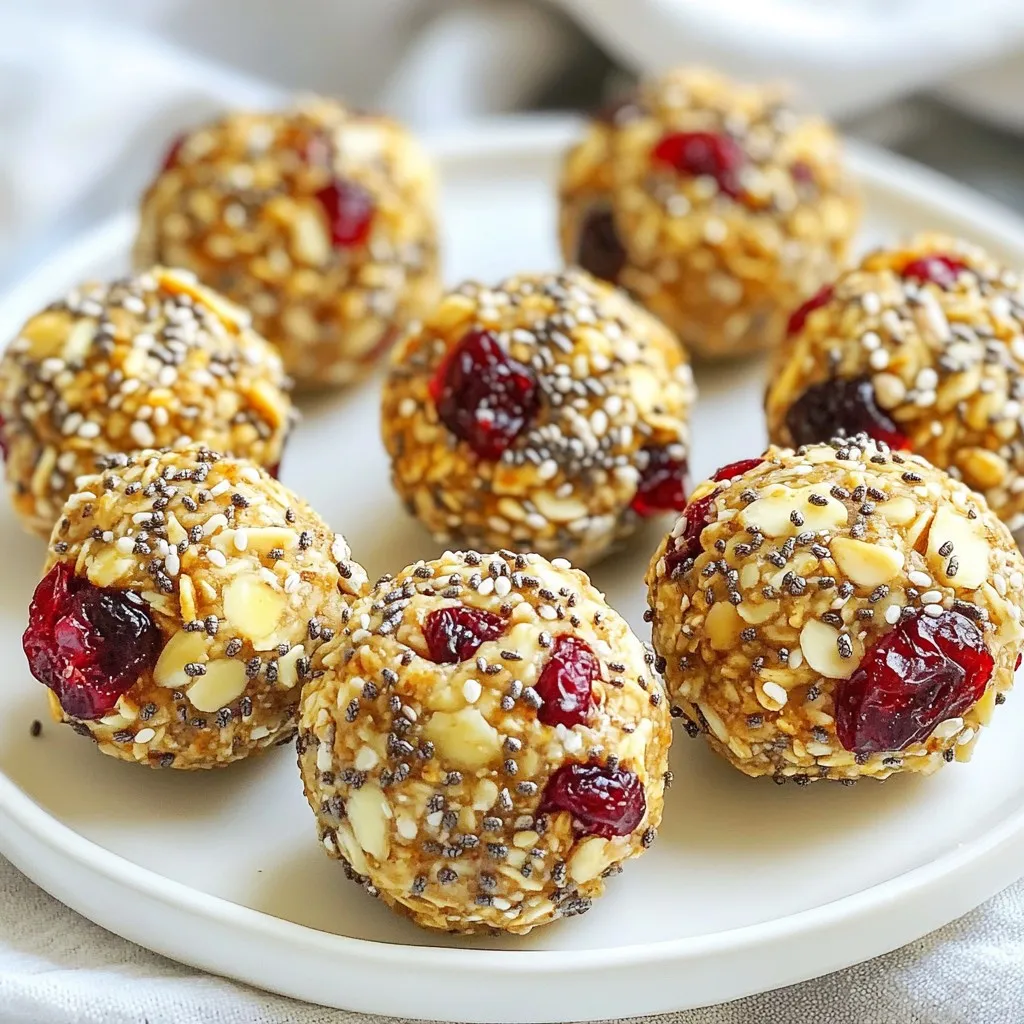
Consider 1 tablespoon of chia seeds for added crunch. They boost nutrition with fiber and omega-3s. You can also add ¼ cup of your favorite granola for great texture. The granola adds a nice crunch. Lastly, the zest of 1 lemon can add a bright flavor. It makes the bark taste fresh and lovely.
Step-by-Step Instructions
Preparing the Baking Sheet
Start by lining a baking sheet with parchment paper. This helps the bark not stick. It also makes it easier to lift the bark out later. You want to ensure a clean removal.
Mixing the Yogurt Mixture
In a medium bowl, combine 2 cups of Greek yogurt with 2 tablespoons of honey or maple syrup. If you like, add the zest of 1 lemon for a fresh taste. Stir well until the mixture is smooth. This step is key for even sweetness.
Spreading the Yogurt
Next, pour the yogurt mixture onto your lined baking sheet. Use a spatula to spread it evenly. Aim for about a ½ inch thick layer. This thickness creates the right balance of creaminess.
Topping the Yogurt
Now it’s time for the fun part! Add 1 cup of mixed berries over the yogurt. Press them down gently so they stick. Then, sprinkle 1 tablespoon of chia seeds and ¼ cup of granola on top for crunch. This adds great texture and flavor.
Freezing Process
Carefully place the baking sheet in the freezer. Let it freeze for 2-4 hours. Your goal is to make sure the yogurt is completely firm. A good freeze gives the best texture for the bark.
Breaking and Serving
Once it’s frozen, take the baking sheet out. Gently peel off the parchment paper. Use your hands to break the yogurt into pieces or squares. Each piece will look unique and mouth-watering. Enjoy your Greek Yogurt Berry Bark right away for the best taste!
Tips & Tricks
Customization Ideas
You can make Greek Yogurt Berry Bark your own. Use any yogurt flavor you like. Vanilla adds a sweet note, while plain keeps it simple. Mix different berries for fun colors and tastes. Try adding bananas or peaches for a twist. You can also swap honey for agave nectar or maple syrup.
Serving Suggestions
Serve your Greek Yogurt Berry Bark on a nice platter. A drizzle of extra honey adds flair. For a fancy touch, sprinkle fresh lemon zest on top. This makes it look great for parties or family snacks. You can even cut the bark into fun shapes for kids.
Best Practices for Texture
Texture is key for the best experience. Spread the yogurt thick enough, about ½ inch. This gives the bark a creamy bite. When adding toppings, press them down gently. This helps them stick to the yogurt. Freeze for at least two hours for the right firmness. For a crunch, add granola right before serving. Enjoy the mix of creamy, fruity, and crunchy in every bite!
Pro Tips
- Use Full-Fat Yogurt: For an ultra-creamy texture, opt for full-fat Greek yogurt. It enhances the richness and makes the bark more satisfying.
- Experiment with Toppings: Feel free to customize your bark with different fruits, nuts, or seeds. Try adding sliced bananas, coconut flakes, or even dark chocolate chips!
- Layer Flavors: Consider adding a splash of vanilla extract or a pinch of cinnamon to the yogurt mixture for an extra layer of flavor that complements the berries beautifully.
- Perfect Storage: When storing leftovers, keep the bark in an airtight container between layers of parchment paper to prevent sticking and maintain freshness.
Variations
Seasonal Fruit Options
You can switch up the fruit based on the season. In summer, try peaches or cherries. In fall, apples and pears are great choices. Winter can feature citrus fruits like oranges or grapefruits. Each fruit adds its own flavor and color. This keeps your Greek yogurt berry bark fresh and exciting!
Dairy-Free Substitutions
If you want a dairy-free option, use coconut yogurt. It has a creamy texture and lovely taste. Almond or soy yogurt also works well. Just make sure to choose a plain or vanilla-flavored yogurt for the best results. This way, everyone can enjoy this tasty treat!
Different Sweetener Choices
You can change the sweetener too. Agave syrup is a nice alternative to honey. You may also use stevia or erythritol for a low-calorie option. Each sweetener brings its own flavor. Adjust the amount based on your taste. This way, you can make the bark as sweet as you like!
Storage Info
Best Storage Practices
To keep your Greek Yogurt Berry Bark fresh, use an airtight container. This will prevent freezer burn and keep the flavors bright. If you don’t have one, wrap the bark tightly in plastic wrap. Always label the container with the date. This helps you track how long it has been stored.
Shelf Life in Freezer
When stored properly, Greek Yogurt Berry Bark can last up to a week in the freezer. If you want to enjoy it longer, consider freezing it for up to a month. Just remember, the longer it stays, the more the texture may change. It may get a bit icy but still taste great!
Thawing Suggestions
When you're ready to enjoy your bark, remove it from the freezer. Let it sit at room temperature for about 10-15 minutes. This will help it soften slightly, making it easier to break into pieces. If you’re in a hurry, you can also microwave it for a few seconds. Just be careful not to melt it!
FAQs
Can I use other types of yogurt?
Yes, you can use other types of yogurt. I prefer Greek yogurt for its thick texture and tangy taste. You can try regular yogurt, but it may not hold its shape as well when frozen. If you want a low-fat option, look for Greek yogurt with lower fat content.
How long does the Greek Yogurt Berry Bark last?
The Greek Yogurt Berry Bark can last up to a week in the freezer. Store it in an airtight container. If you leave it out, it will melt quickly and lose its texture. I suggest taking out only what you plan to enjoy.
Can I add nuts or seeds to the recipe?
Absolutely! Adding nuts or seeds is a great idea for extra crunch. You can sprinkle almonds, walnuts, or pumpkin seeds on top. If you include chia seeds, it adds a nice texture and boosts nutrition.
Is this recipe suitable for meal prep?
Yes, this recipe is perfect for meal prep. You can make a batch at the start of the week. It’s a healthy snack option that is easy to grab when you're busy. Just portion it out and keep it in the freezer for quick treats!
We explored how to create delicious Greek yogurt berry bark. We covered key ingredients like Greek yogurt, berries, and sweeteners. You learned step-by-step instructions for making the bark, from mixing to freezing. I shared tips for customizing your recipe and serving ideas. We also looked at storage options and answered common questions.
Now you can enjoy a tasty treat that's healthy and fun to make. This recipe is perfect for any time of year. Enjoy your homemade snack and share it with other